GTA 6 Hub / Guides
GuidesGTA 6 Photo Mode: How to Use Photo Studio, Take Selfies and Get the Best Shots
Yes, GTA 6 has a full photo mode. It is called Photo Studio, it opens from the pause menu from the prologue onwards, and it packs camera controls, extra lights and 17 filters. The phone camera covers quick snaps and selfies.
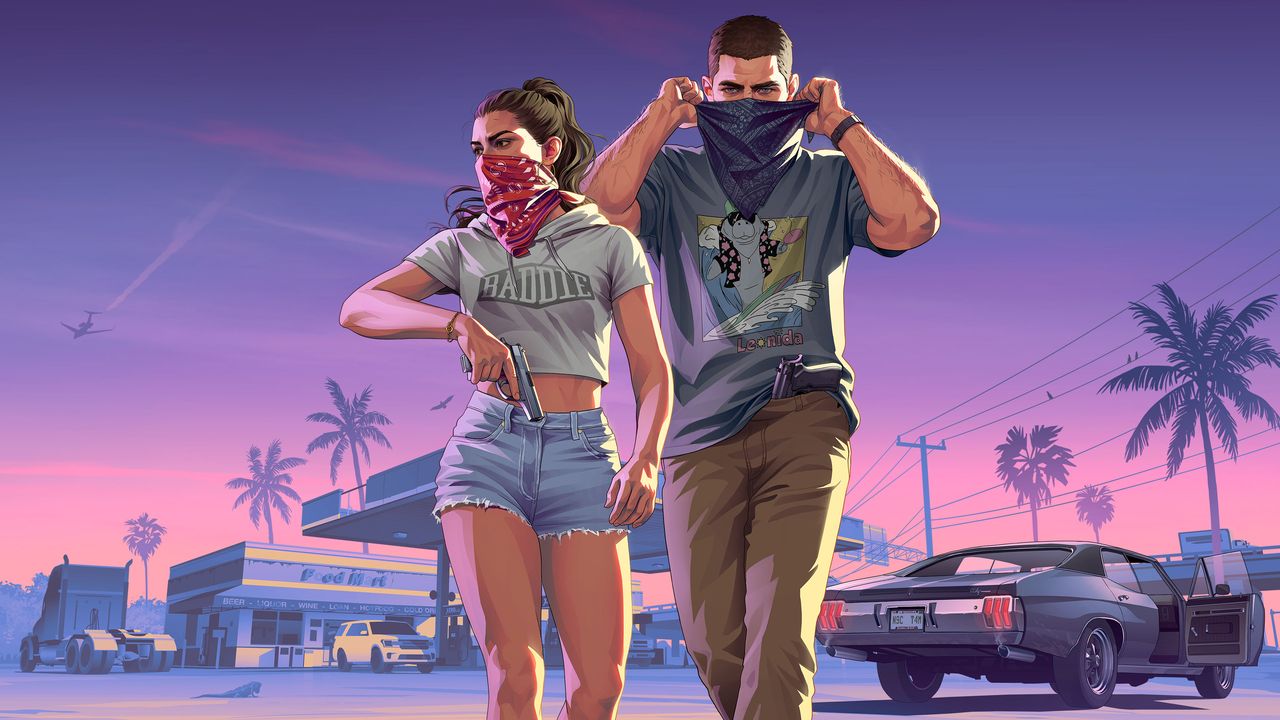
Yes, GTA 6 has a dedicated photo mode, and it is available from the start of the game rather than arriving in a later update. In-game it is called Photo Studio. You open it from the pause menu, and it freezes the action so you can frame a shot properly, adjust the lighting and apply filters. For a quick snap without pausing, Jason and Lucia's phones have their own camera with selfies. Here is how both work, what each tool does, and where your photos end up.
How to open Photo Studio
Photo Studio becomes available once you take control of Lucia in the prologue, so it is unlocked within the opening hour. To open it:
- Press Options on PS5 or Menu on Xbox Series X|S to pause the game.
- Select Photo Studio from the pause menu. It sits between Help and Settings on PS5, marked with a camera icon.
- Or press the shortcut: Square on PlayStation, X on Xbox, while paused.
The game pauses while Photo Studio is open, so nothing moves while you work. That makes it ideal for action shots: pause in the middle of a chase, a jump or a firefight, then take your time with the framing. GameSpot notes you can also open Photo Studio during cutscenes, but the functions are limited there.
What the Photo Studio tools do
Photo Studio has five tabs of settings. Here is what each one does, as documented by GameSpot and GameRant:
| Tab | What it does |
|---|---|
| Camera | Rotate and zoom the camera, set the field of view (up to 48.5 degrees), adjust camera speed, disable depth of field, and turn your character invisible for a clean scene shot. Eight aspect ratios are available. |
| Effects | Tweak exposure, contrast, tint, bloom and more. |
| Lighting | Place extra light sources in the scene. You can add up to five additional lights, with presets including stage lights, camera flashes, spotlights, floodlights and softboxes. Each light's intensity and range can be adjusted. |
| Vehicle | Toggle the lights on your vehicle for night shots. |
| Overlay | Vignette and filter intensity. There are 17 cosmetic filters, including Cartoon Universe (a slightly cell-shaded effect), Found Footage (grainy and glitchy, like a found-footage film) and Pixel Art (a retro 8-bit look). |
One notable omission, flagged by Undercode News: you cannot reposition Jason or Lucia into custom poses or change their facial expressions inside Photo Studio. For posed shots, use the phone camera instead (see below).
How to take the photo
Once the shot is framed, press Triangle on PS5 or Y on Xbox to hide the UI, then capture with your console's screenshot function: the Create button on PS5, or the Share button on Xbox. Photos saved through Photo Studio are also stored in-game and can be found in Jason and Lucia's phone gallery, alongside photos taken with the phone camera. Console screenshots taken with the system capture function are saved outside the game instead: in the PS5 Media Gallery, or in the Xbox capture gallery.
How to take photos and selfies with the phone camera
For quick shots without pausing, use the smartphone camera. It becomes available after you progress through Lucia's section of the prologue and take control of Jason in the open world.
- Press Up on the D-pad to open the phone.
- Open the Camera app (the third icon in the first row).
- The rear camera opens by default, with up to 5x zoom. Press R3 to switch to the front camera for a selfie.
- Adjust the pose, facial expression and filter: the phone camera has the same 17 filters as Photo Studio.
- Press R2 to take the photo.
The phone camera is the only way to change your character's pose and expression for a shot. If your partner is with you (Lucia while playing as Jason, and vice versa), you can also change your partner's pose. Photos taken with the phone are saved to the in-game phone gallery.
Photo Studio vs phone camera: which to use
| Photo Studio | Phone camera | |
|---|---|---|
| Opens from | Pause menu | D-pad Up, then the Camera app |
| Action | Paused, so you can frame action shots | Live, so the world keeps moving |
| Camera control | Free camera, FOV, aspect ratio, depth of field | Fixed to your character, up to 5x zoom |
| Lighting | Up to 5 extra light sources | None |
| Poses and expressions | Not available | Yes, for you and your partner |
| Filters | 17, plus effects and vignette | 17 |
| Best for | Cinematic, carefully lit screenshots | Quick snaps, selfies, posed shots |
For more on making the game look its best before you shoot, see our best graphics settings guide and best HDR settings guide.
- GameSpot, How To Use Photo Mode In GTA 6
- GameRant, How to Use Photo Mode in GTA 6
- Sportskeeda, GTA 6 photo mode guide: How to use, features, and save location
- India Times, GTA 6 phone camera guide: How to take photos, capture selfies and use all camera filters
- HowToVideoGame, GTA 6: How to Use Photo Mode
- Undercode News, GTA 6 Photo Mode Is Surprisingly Impressive
Figures were checked on the dates shown. Review scores and store listings can move after publication.
More from GTA 6 Hub
 Launch Guide
GTA 6 Release Date, Unlock Time and Platforms: Everything Confirmed for Launch Day
Grand Theft Auto VI is out now on PlayStation 5 and Xbox Series X|S. Here is when it unlocks, where to get it, and what Rockstar has confirmed.
 Price Guide
GTA 6 Price: Standard vs Ultimate Edition, and Which One to Buy
Standard is $79.99, Ultimate is $99.99, and the $20 gap buys bonus content only. The same game, the same map, the same story in both.
 Reviews
GTA 6 Reviews: 99 on Metacritic, Tying the Highest Score Ever
Critics handed Rockstar a near-perfect launch: 99 on Metacritic, 98 to 99 on OpenCritic, and not a single mixed or negative review counted.